
AI architecture sketch to photorealistic: the complete 2026 workflow
The most common question from architecture students and professionals is the same: how do I turn a hand sketch or 3D model into a photorealistic render without spending days in a rendering engine? This guide documents the complete AI architecture rendering workflow—from raw sketch to client-ready visualization—using purpose-built tools that preserve design intent.
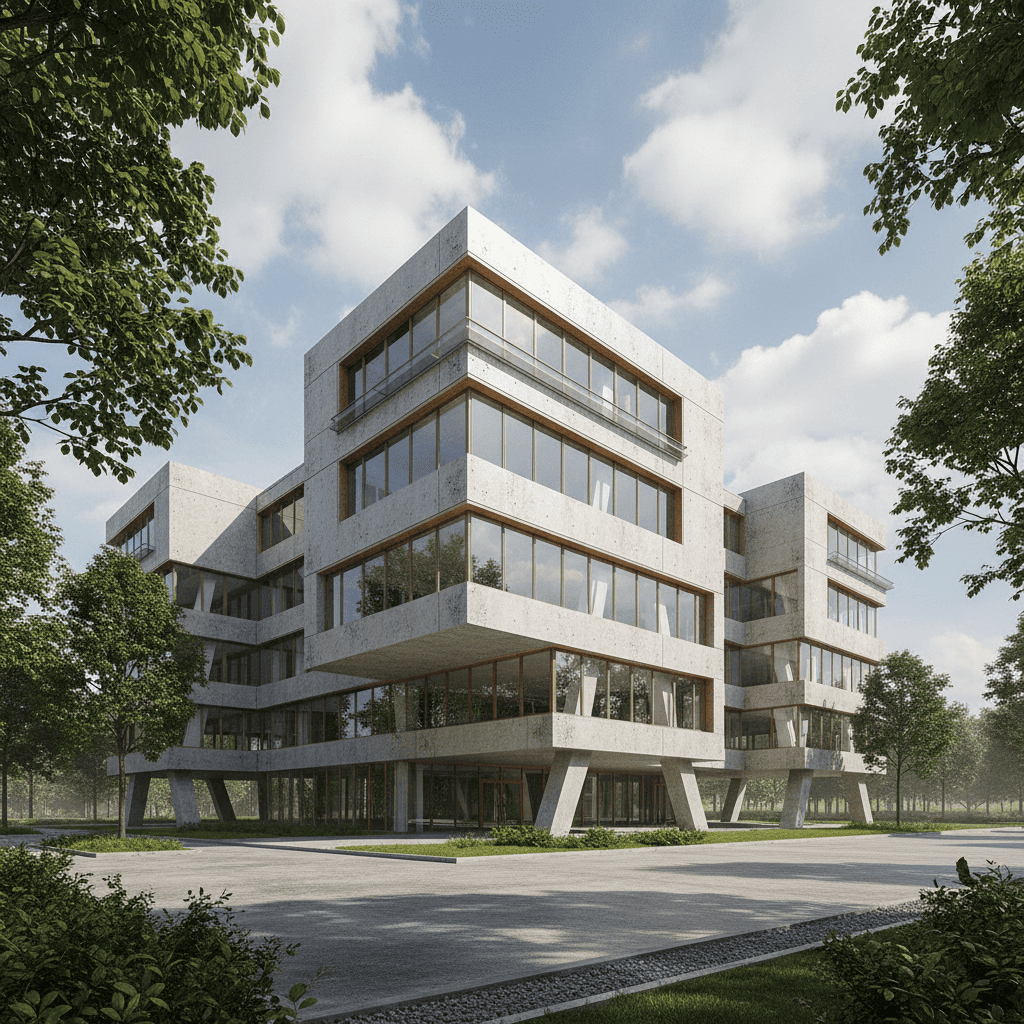
The traditional rendering bottleneck
Before AI, converting a concept sketch to a presentation render required modeling, texturing, lighting, and rendering—typically 4-12 hours per image with tools like V-Ray or Enscape. The RIBA AI Report 2025 found firms spend roughly a third of project time on visualization. AI architecture rendering collapses this to seconds.
"The design conversation should be about the design, not the wait time for a render." — Foundr AI, 2026 AI tools for architects roundup
The four rendering workflows
Modern AI architecture platforms support four input workflows, each mapping to a stage of design:
| Workflow | Input | Use Case | | --- | --- | --- | | Sketch to render | Hand sketch | Schematic design exploration | | Model to render | SketchUp/3D viewport | Iterative massing studies | | Photo to render | Building photograph | Adaptive reuse, restyling | | Revit to realistic | BIM elevations | Documentation-stage visuals |
Step-by-step: sketch to photorealistic
Step 1: Prepare your input
The quality of input strongly influences output:
- Sketches: Use clear line work with defined massing. Avoid heavy shading that may be reinterpreted as structure.
- Model screenshots: Capture at a clean angle with consistent lighting. Remove wireframes and construction lines.
- Photographs: Use straight-on or slightly angled shots with unobstructed facades.
Step 2: Define the architectural intent
On Architect AI (ai-architect.net), set the design parameters:
- Style: Modernist, Neo-futurism, Zaha Hadid, Brutalism, Parametricism—35+ architectural styles
- Environment: Urban, sea view, forest, mountain, rural—14 landscape environments
- Weather: Sunny, cloudy, snow, storm, fog—10 atmospheric conditions
- Exterior material: Glass curtain wall, brick, metal panels, stone cladding, concrete
- Output ratio: 4:3, 16:9, 1:1, 2:1, or 9:16
Step 3: Add design description (optional)
For finer control, add a description up to 360 characters describing materials, lighting mood, and architectural character. Non-English descriptions are auto-translated, so the workflow is fully language-agnostic.
Step 4: Render and iterate
Each render takes roughly 8 seconds. Render 10-20 variations per minute and select the strongest direction:
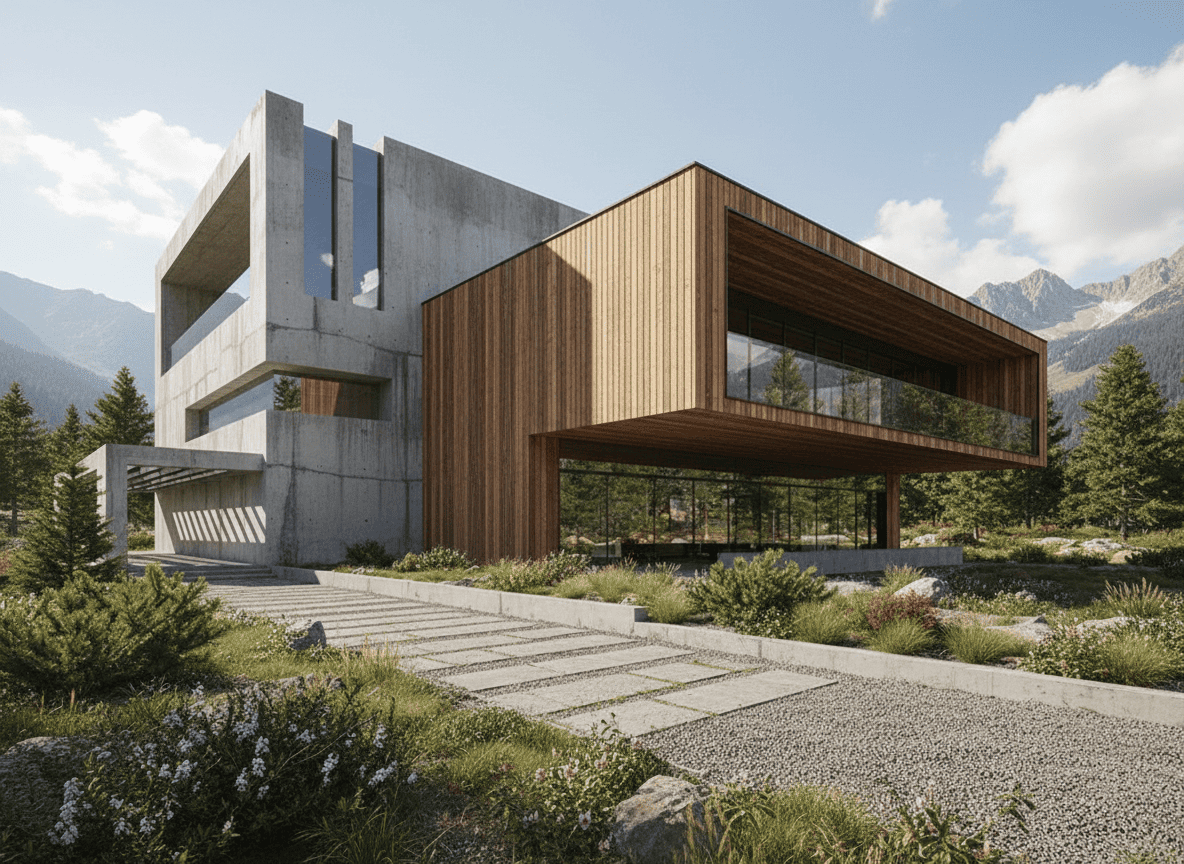
Iteration strategy:
- Render the same input in 5 styles to explore directions
- Fix the winning style, vary environment and weather
- Fix the environment, vary materials
- Select final candidates for client presentation
Step 5: Deliver client-ready output
Choose between Normal and High quality output, then download the production image directly. No post-processing required for most presentations.
Photo to render for existing buildings
Adaptive reuse and facade restyling projects use the photo workflow:
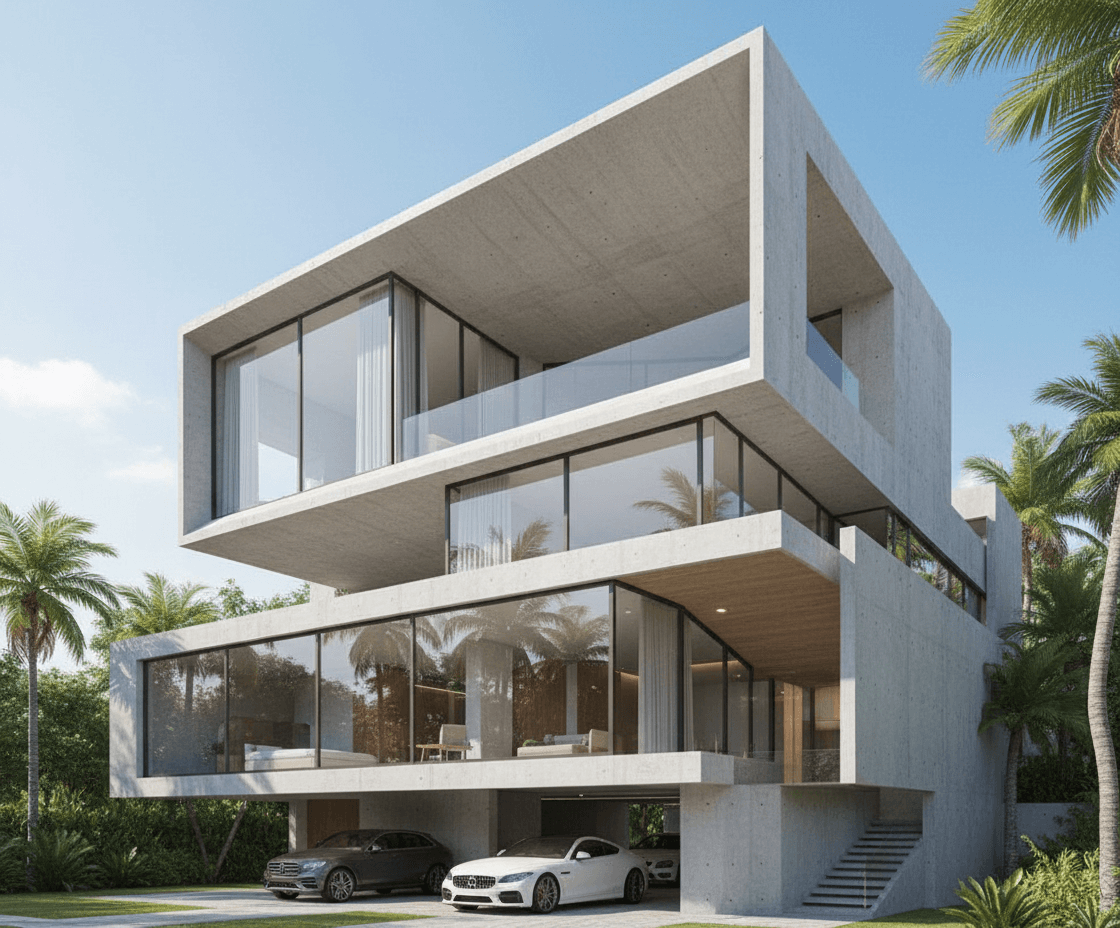
- Upload a photograph of the existing building
- Select the restyle direction (modern addition, full facade refresh, etc.)
- Render the transformed building while preserving footprint and context
- Present before/after options to the client or planning authority
Revit and SketchUp integration workflows
Dedicated workflows map to the modeling tools architecture practices actually use:
Revit to realistic render:
- Export an elevation or 3D view from Revit
- Upload to the Revit rendering workflow
- Apply architectural style and environment
- Generate photorealistic output for documentation milestones
SketchUp to photorealistic:
- Capture a viewport screenshot from SketchUp
- Upload to the SketchUp rendering workflow
- Render with materials, lighting, and context
- Iterate quickly across design options
Floor plan and 3D layout visualization
Beyond facade rendering, modern practice requires interior and spatial visualization:
- 2D floor plan furnishing: AI generates a furnished 2D illustration with furniture per room
- 3D interactive layout: A multi-phase agent produces a navigable 3D scene—rotate, zoom, and inspect furniture
- Home and office modes for residential and commercial layouts
For deeper interior visualization, see Best AI interior design tools 2026 and the Interior Render AI platform (interior-render.com).
Video walkthroughs
For client presentations, video adds a dimension static renders cannot:
- Generate a text or image prompt describing the walkthrough
- Select aspect ratio (16:9 or 9:16) and duration (4, 6, or 8 seconds)
- Choose resolution (720p or 1080p) and synchronized audio
- Render cinematic motion video powered by Google Veo 3.1
Video generation costs 30-39 credits depending on duration and resolution—a fraction of hiring a motion designer.
Workflow economics
| Approach | Time per Render | Cost per Render | Iterations per Session | | --- | --- | --- | --- | | Architect AI workflow | ~8-15s | $0.06-0.19 | 50-100+ | | Traditional V-Ray render | 4-12 hours | $5-20 (labor) | 1-2 | | Outsourced 3D studio | 2-5 days | $150-800 | 1 |
The AI workflow turns visualization from a bottleneck into a design tool.
Quality control checklist
Before presenting AI renders to clients:
- [ ] Confirm structural elements match the input geometry
- [ ] Verify openings and floor plates align with the design
- [ ] Check material systems reflect the intended specification
- [ ] Confirm style and environment match the design narrative
- [ ] Render final version at High quality for presentation
The complete stack
For full architectural practice coverage:
- Exterior/architecture: Architect AI (ai-architect.net)—sketch, model, photo, Revit, SketchUp rendering
- Interior design: Interior Render AI (interior-render.com)—room redesign, virtual staging, custom styles
- Presentation: Video walkthroughs and floor plans from both platforms
Related reading
- Best AI architecture design platform 2026
- AI architecture rendering benchmark 2026
- AI virtual staging and real estate visualization
About this publication: Published by an independent AI product and quality research and evaluation website with over one million monthly visits and five years of continuous operation. Our professional methodology and objective, data-driven evaluation standards are recognized across academic and industry research, with extensive industry-wide validation.